Configure Workflow steps
Tabs
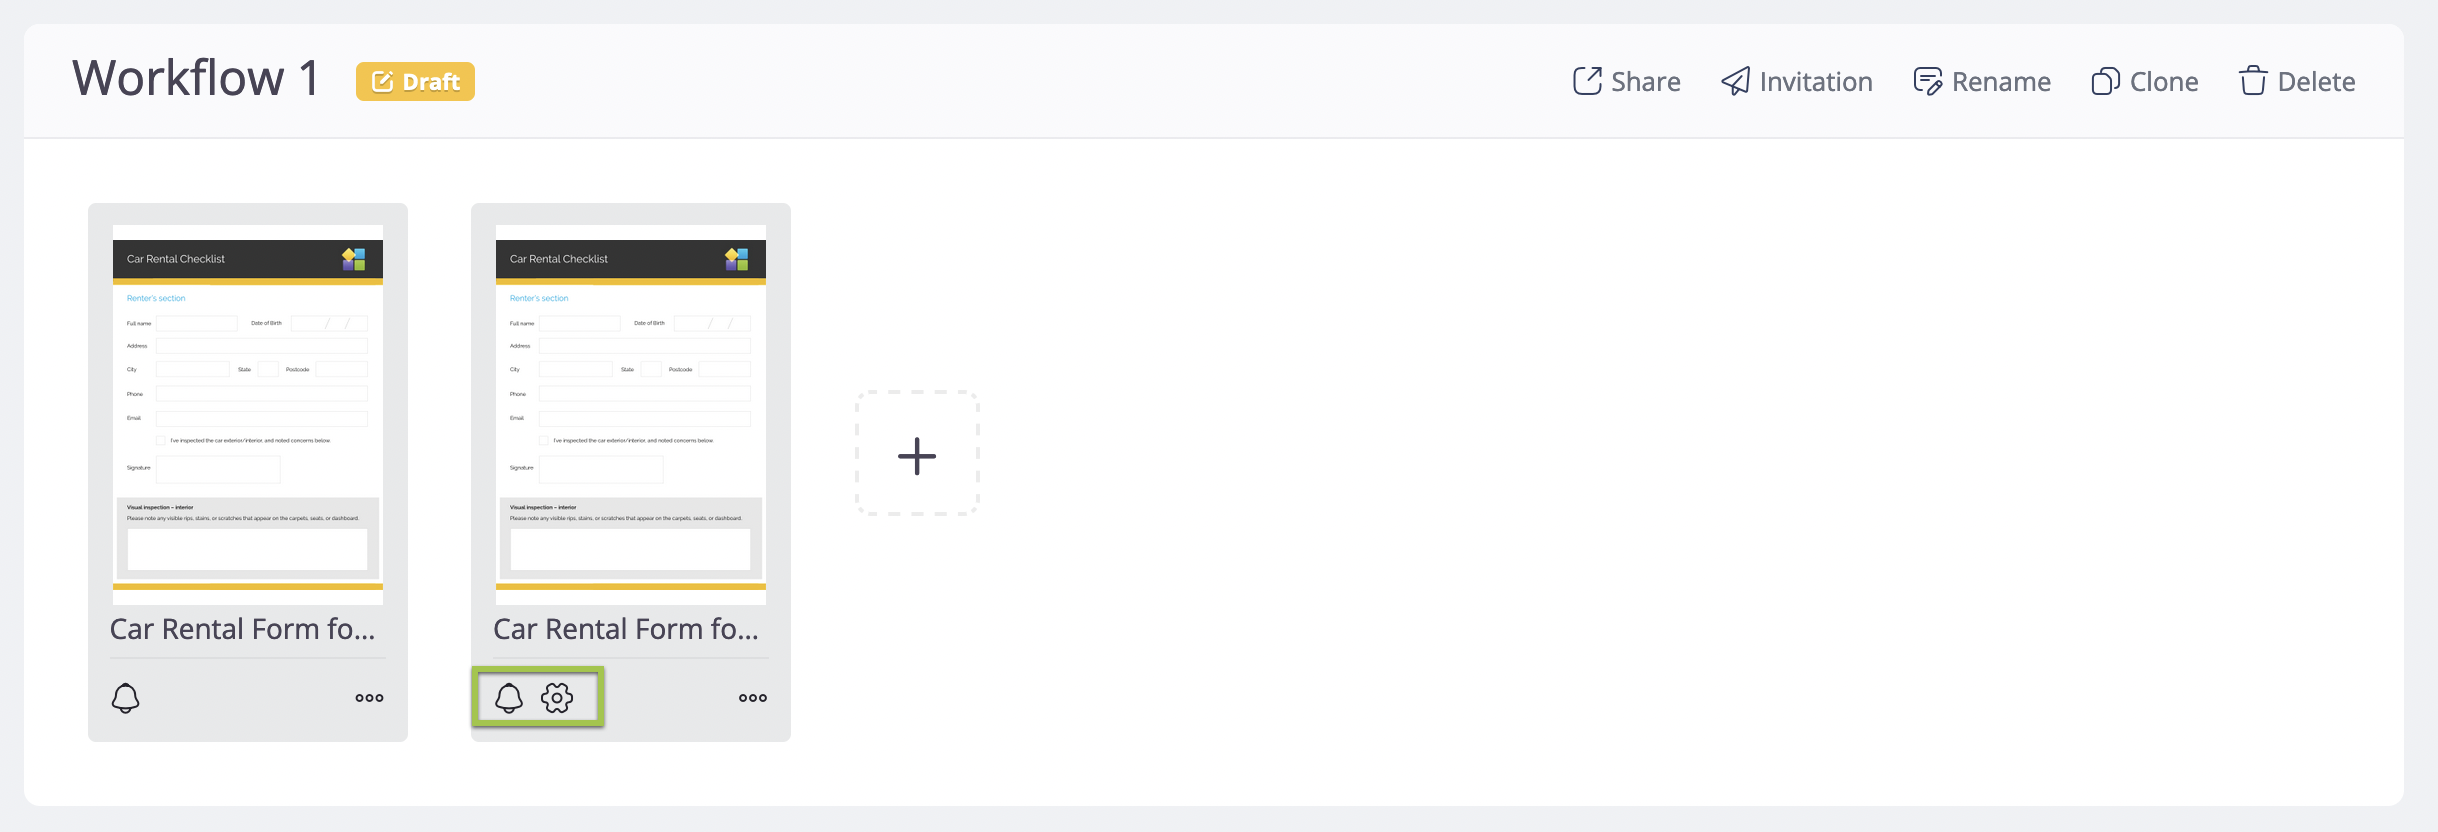
This article provides guidance on configuring settings for each step within the Workflow. After adding steps in the Workflow, you can:
-
Configure notifications by clicking the Notification (bell) button. For more details, refer to the Configure form notifications section.
-
Configure settings for steps after the initial step by clicking the Settings (gear) button. For more details, see the Configure step settings section below.
Configure step settings
Configure step settings are applicable only to steps following the first step.
-
Click the Settings (gear) button located at the bottom left corner of your desired step.
This will open the Settings window.
-
Switch on/off each option to change the settings for the step. For more details, refer to the Introduce settings options section below.
Introduce settings options
This section explains the different settings you can customize for each step in your Workflow.
Combine data across steps
Description: When enabled, this option will combine data from various steps into one PDF, including information submitted in each form for the final step’s generated PDF.
Imagine a customer gives their details in Step 1, and in the final Step 2, you need the manager’s signature. When enabled, the PDF will merge both steps, showing both the customer’s info and the signature together on one page in the final PDF.
Display previous step’s data in current form
This option is applicable to online PDF forms only.
Description: When enabled, this option will show data from the previous steps on the PDF of the current step, helping users easily refer to earlier information while filling out the form.
A sales manager can review a sales form to understand what they are signing.
Include link to previous step’s PDF
Description: When enabled, a link to the PDF generated after completing the previous step will appear at the bottom of your form. This link lets you easily access the PDF from the previous stage. This feature is particularly helpful in these scenarios:
- If your form isn’t an online PDF form,
- Or if you’ve turned off the Use previously filled PDF as current form template option.
It’s a handy way to access earlier step information without adding it directly to the current PDF template.
Include link to previous step’s form
Description: When enabled, this option will add a link at the bottom of the current form. Clicking the link will open the form from the previous step, allowing you to edit a previous submission. This is helpful if you anticipate needing to revise information provided in earlier steps.
To use this option, you need Form Submitter permission for the previous step’s form. If you encounter an access denied error (HTTP 403), ensure you’re logged into PlatoForms and have set the Form Submitter permission for the previous form to Public.
Automatically fill fields with matching labels
Description: When enabled, this option ensures that fields in the current step of the form are pre-filled with values from the previous step, provided their labels are the same. This convenience is available for the following field types:
- Text
- Choice
- Dropdown
- Signature
File Upload or Photo fields cannot be automatically filled with previous values.
Automatically fill fields with matching display name
Description: When enabled, this option prioritizes matching the field’s display name before considering its label during copying. A field display name is a unique identifier assigned to a particular field in an online form, used for submissions management on the Submissions page. Refer to the Use field display name section for more details.
Create signature certificate
Description: This option is off by default for all steps. When enabled, a signature certificate will be created for the specific step after submission.
To use this feature, you need to turn on the Create Signature Certificate option for each step:
-
For the first step, click the Invitation button at the top right of the Workflow.
-
In the Invitation panel, switch on Signature Certificate.
This will link the signature certificate to the email settings for proper identification.
-
For the next steps, click the Settings button for that step, and turn on Create signature certificate.
You can refer to the video tutorial How to create signature certificate for Workflow below:


